Using HubSpot For Email Automation
Using HubSpot for email automations can significantly streamline your marketing efforts, helping you nurture leads, engage customers, and drive conversions with minimal manual effort. HubSpot’s powerful email automation tools allow you to create personalized, data-driven email campaigns that target the right audience at the right time.
In this guide, we’ll walk you through how to set up and optimize email automations using HubSpot, from defining your goals and audience to measuring your success and improving your workflows. Whether you’re new to email marketing or looking to refine your strategy, HubSpot’s automation features can be a game-changer for your business.
Create Automated Emails To Use In Workflows (Step-by-Step)
Introduction
Before starting off with email automation, plan your approach and goals. Common goals for automated emails include nurturing new leads, re-engaging dormant customers, and supporting upselling efforts. With these objectives in mind you can segment your audience in HubSpot using criteria like demographics, lead status, and engagement history.
Creating automated emails within hubspot workflow is a straightforward process that offers several benefits for businesses and marketers allowing them to streamline processes, engage effectively with contacts and of course improve overall efficiency.
Step-1: Accessing Marketing Hub Dashboard
The first thing that you need to do is to log in using your credentials. If this is your first time here in HubSpot I want you to click the sign up option and from here just follow the onscreen instructions and you’re good to go.
Once you done with signing-up, complete the Marketing Hub Onboarding Process.
Creating automated emails within hubspot workflow is a straightforward process that offers several benefits for businesses and marketers allowing them to streamline processes engage effectively with contacts and of course improve overall efficiency.
Step-2: Creating Email In Marketing Hub
After loggin-in, from the sidepanel, click on the email in the marketing section. We will create something from scratch.
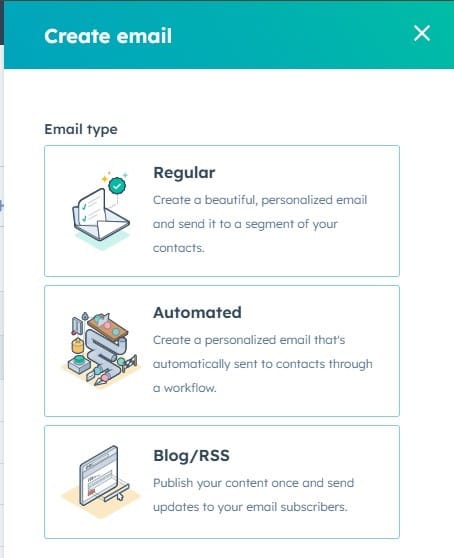
Click on create email and select automated where we can create personalized emails that’d be sent to contacts through a workflow. Skip the tour by clicking explore on my own.
You might want to check the templates provided by HubSpot or you can create your own custom template. In this guide we’ll use the welcome template.
You can now customize the email from here using the drag and drop elements from the right side. Complete the email design according to your brand by changing the logo and colors.
Once you’re done designing your email. Click on the settings tab from the top.
Here you set your subject line and other settings.
Then click on review and publish from the top-right corner to complete the email. When publishing, there’s going to be an option where you can select from form or workflow, select workflow and create a new workflow.
Step-3: Setting Up Workflow For Email Automation
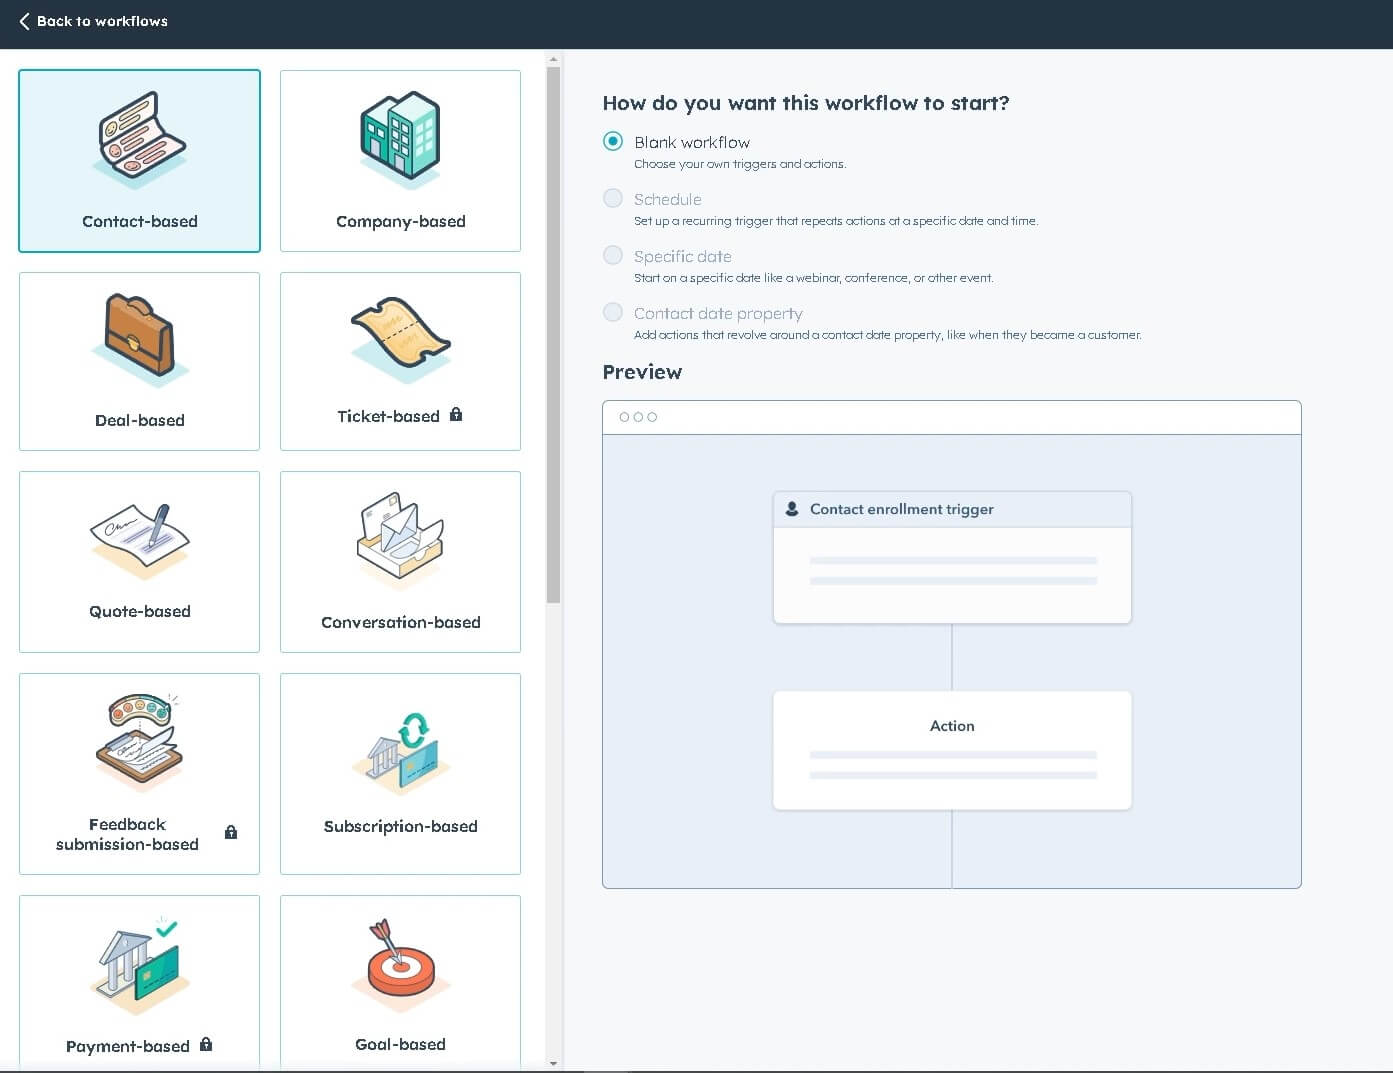
First step here is to choose the trigger whether it is going to be contact based or a specific date, and now you just have to choose other triggers which decides how a contact will enter this workflow. If there is no trigger, A contact can be manually enrolled.
Now you just need to complete the workflow, for example when an event occurs, you see all these options for you that automatically triggers enrollment when an event occurs. your criteria will appear in the box if you don’t want that you can click on delete or if you’re happy just click on done.
Automated emails within HubSpot workflows enhance productivity, improve customer engagement and support business growth by automating repetitive tasks and delivering personalized timely communications.
Step-4: Test and Optimize Your Email Workflow
Testing is crucial to ensure your automated workflows function as intended. HubSpot provides options for previewing workflows or sending test emails to ensure that triggers, content, and timing all align correctly. Once your workflow is live, monitor its performance using metrics like open rates, click-through rates, and conversions. Regular testing and optimization will help you identify areas for improvement, such as adjusting triggers or refining content, ultimately increasing the effectiveness of your email automation strategy.
Advanced Tips for HubSpot Email Automation
HubSpot offers the Best Marketing and Automation tools with Marketing Hub. Once you’ve mastered the basics, consider exploring HubSpot’s advanced automation features. For example, if/then branches allow you to tailor messages based on specific behaviors or contact attributes, creating a more personalized journey. You can also use dynamic content to adjust the messaging in each email based on the recipient’s actions or preferences. Additionally, leveraging HubSpot’s smart content and lead scoring tools can further refine your automation, helping you identify and engage your most promising leads.
Conclusion
Automating emails with HubSpot can be a powerful way to enhance lead nurturing, increase customer engagement, and ultimately drive business growth. By following the steps in this guide—from defining your goals and segmenting your audience to testing and optimizing workflows—you can create a cohesive, effective email automation strategy. Start small, experiment with different workflows, and gradually build upon your successes. With HubSpot’s comprehensive email automation tools, you’ll be well-equipped to create meaningful, lasting connections with your audience.
